
Minecraft Enhanced 2.0 for PS Vita Troubleshooting
Minecraft Enhanced 2.0 for PS Vita is here and many people struggle to install it. This article can hopefully help you
PS VITA
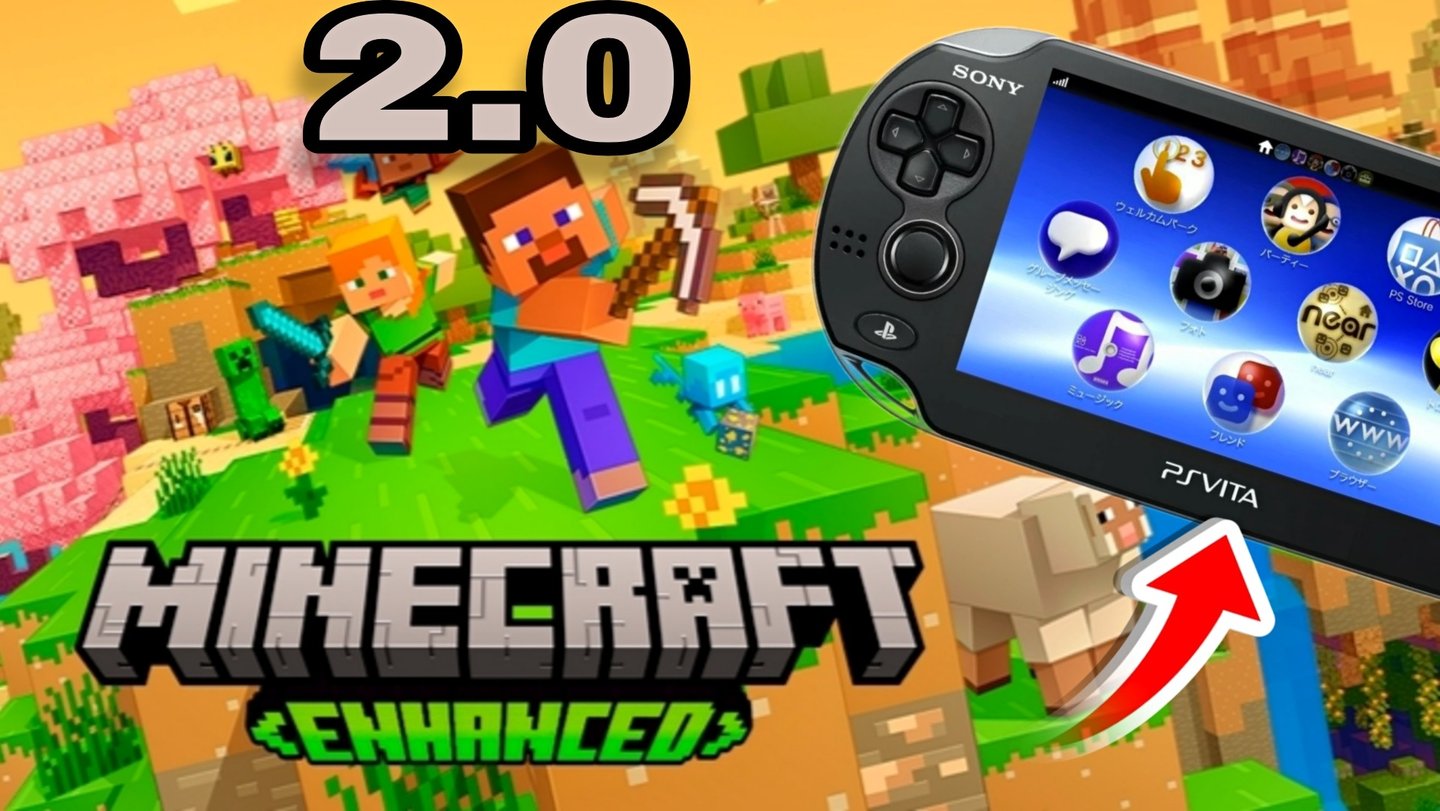
Minecraft Enhanced Version 2.0 for PS Vita is finally here, after a long wait and everyone is super happy. There were lot of new amazing features added including extended world size, new ore types, new zoom and chat options, bunch of new DLCs, new textures and graphical options. I have made a showcase video, and you can see all changes right in here. If you haven't installed it and you like Minecraft, I think you should definitely try it out because there are a lot of improvements and benefits. How can you install it? The instructions are pretty simple, you can find them here, but in the nutshell, you need to follow about 6 one-line sentences with detailed instructions. I was able to install it second try. Well, I installed it first try, but a lot of features were missing, because I have messed up the setup of the new plugin. I fixed it and then it was all working flawlessly. I have seen a lot of people are having also issues with installation, therefore I have decided to write this article to help you troubleshoot your non-functional Minecraft Enhanced 2.0, let's get into it :-)
Okay, if you haven't installed Minecraft Enhanced Version 1.0 before, please stand by. If you did install it, then you need to delete it, because Version 1 and 2 doesn't work together, they are not compatible. If you want to transfer your save files, do that first. Here are instructions -
SAVE AND WORLD TRANSFER
Before installing the mod, copy your save folder from the directory along the path ux0:user/00/savedata/ to the root of ux0: or to any directory of your choice.
After installing the mod, launch the game and create a new world with the necessary settings. Once the world loads, exit to the main menu with saving and close the game.
Go to the previously copied folder and select any save (Folders with name like <TITLEID>-<NUMBERS>). Copy the GAMEDATA.bin file from the selected directory.
Go to the directory ux0:user/00/savedata/, find the new save folder and open it in decrypted mode (Triangle – «Open decrypted»).
Go to the save folder that was recently created by the game. Paste the previously copied GAMEDATA.bin file with replacement.
Repeat steps 2-5 to transfer all other saves you need.
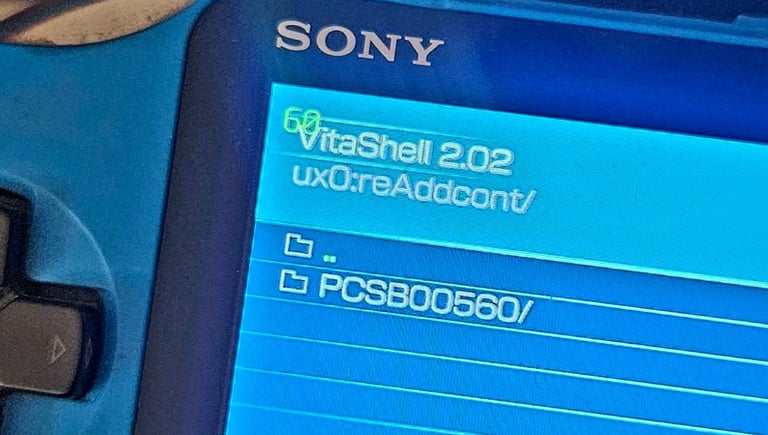
After you have transferred all your save files (or rather just making a backup of them, transfer will come after game installation), then proceed to deleting your bubble from LiveArea , then open VitaShell and delete Minecraft Enhanced 1 folders from within rePatch / reAddcont. This is important, many problems comes from not deleting them, so please make sure to delete them. The names of these will differ depending on the region of the game you have installed. For example the path to mine folders is ux0:reAddcont/PCSB00560 and ux0:rePatch/PCSB00560. You need to delete both of them.
Now we can install the game. For this you going to need a PC. You can use your phone as well and transfer the game files vita FTP, but I would not recommend it. The file size is quite large (around 2.5GB) and if you going to transfer them via FTP, there are often errors occurring and you need to restart the process. For hassle free process do this on the PC. Go, download the zip from the release page (there are 3 regions available, remember the one you have chosen - USA, EU, Japan), extract it, place the extracted folder on your ux0, then in VitaShell go to the folder, it is going to be called ...Enhanced2 (don't go inside, just mark it), press triangle - more - Install Folder and the bubble will appear on your LiveArea. If this process fails, please make sure you have downloaded all of the game files, the extracted folder needs to be around 2.5GB. If it is less, it means you are missing something. Redownload the game and repeat the installation process.
After you have installed the game, you are not going to launch it, because for everything to work properly you need to install one more additional plugin. If you have already installed it, you launched the game and it is not working properly it is because you haven't installed it correctly. This can be seen as missing new options in the menu, or the game is asking you to purchase all DLCs, or the item textures in inventory are misaligned/ icons are displayed incorrectly. To fix this, this is how to install the plugin correctly. We need ioPlus plugin. There are two version 0.2 and 0.1 and we need 0.2. Get it here. Download it on the PC, transfer to your ux0, then move it in the VitaShell to your ur0:tai folder. You can find there all your other plugins too. Open your config.txt (still in ur0:tai folder) and under *KERNEL add this line of text - ur0:tai/ioplus.skprx
Then in the very bottom of the same confitg.txt you also going to add
*PCSE00491
ux0:app/PCSE00491/sce_module/mce.suprx
This is the most important part. PCSE00491 is USA Region so if you have downloaded different region, these numbers are gonna be different. You can find these number right on the downloaded .zip folder. Mine is USA so the numbers are PCSE00491. Europe is *PCSB00560 and Japan is *PCSG00302, edit the config file based on your specific version of the game. Last step is to back out from config.txt with circle button and when it asks about saving the changes you press YES, then reboot your PS Vita, launch Minecraft Enhanced 2.0 and have some fun ;-)


If you are still facing any issues with new graphical features in the menu please make sure to not use VitaGrafix. It is used for running the game at native resolution but in this case it also breaks text and other UI elements so don't use it.
If you are using ReVita plugin, you also need to disable it because it makes joysticks non-functional. This plugin is used for remapping buttons but it is not compatible with this mod, unfortunately.
If you have any more questions check the FAQ
Last but not least, the game online features are fully functional and for the best experience, it is recommended to fully overclock your PS Vita (press select+Down Dpad to bring up the menu and change all values - CPU,ES4,BUS,XBR to the max)
Here are recommended graphical settings
VitaGrafix (in case you are using it)
Resolution: 720×408
FPS Cap: 30
General
Zoom Sensitivity: 65
Interface
Advanced Armor UI: Enabled
Directional Damage Indicator: Enabled
Graphics
Gamma: 30–40%
Smooth Lighting & Enhanced Lighting: Enabled
FOV: 70°
Clouds: Detailed
Fog Distance: Far
Environmental Fog Effects: Enabled
Render Distance: 5–6 chunks
Particles: Medium
Darker Nights & Colorful Stars: Enabled
Fast Leaves: Enabled
Texture Pack: Enhanced Additions
I hope this article helped you to install Minecraft Enhanced Version 2.0. As I have mentioned, majority of problems comes from not deleting the rePatch/reAddcont folders and from not installing the ioplus plugins properly. If you're still having issues, double check the plugin, it is most likely the cause (deleting folder should be relatively easy).
This mod was made by PG Team and I would like to send them one huge THANKS for creating it. They have also made bunch of other, big PS Vita mods for GTA Trilogy, Galaxy on Fire 2, Max Payne, Re-Volt. You can find it all on their website.
Thanks for reading this article, I do really appreciate it. More to come!
P.S. - You can now comment under this article :)
Reframe your inbox
Subscribe to our newsletter and never miss a story.
We care about your data in our privacy policy.